If you have a Zigbee2MQTT network running, no longer have the stick and want to migrate to Connect ZBT-1.
Note: this procedure helps migrating the network. This means you won't have to pair all your devices again with Home Assistant Connect ZBT-1. However, some of the higher-level settings cannot be migrated. Elements such as device names may be lost. There is currently no migration path to migrate all the settings.
Migrating a Zigbee2MQTT network to Connect ZBT-1 via z2m backup
Step 1
Create a Zigbee2MQTT backup
- Under Settings > Add-ons, open the Zigbee2MQTT add-on and select Open Web UI.
- In the Zigbee2MQTT UI, go to Settings > Tools and select Request z2m backup.
- A zip file should now be downloaded into your Downloads folder.
Step 2
Unzip the backup folder
- In your Downloads folder, unzip the z2m-backup.
- It should contain a coordinator_backup.json file.
Step 3
Stop the Zigbee2MQTT add-on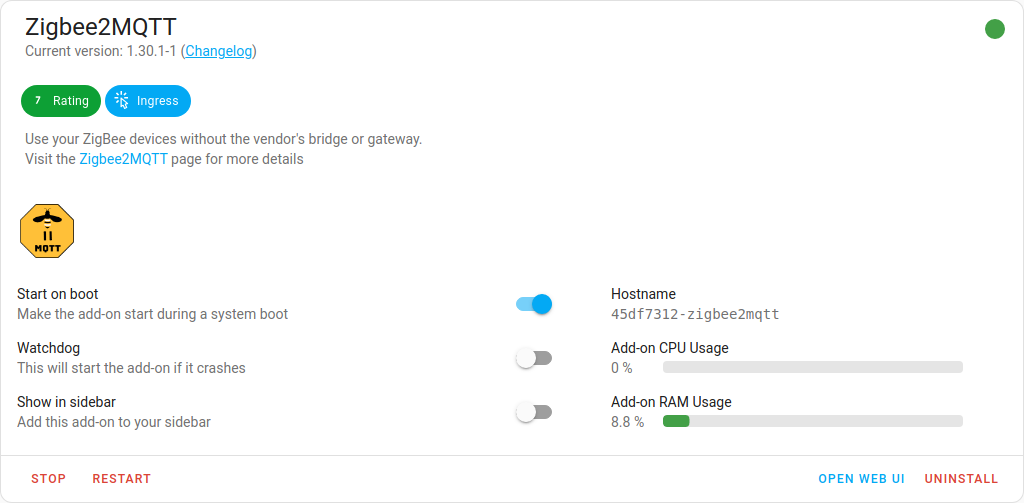
- Under Settings > Add-ons, in the Zigbee2MQTT add-on, select Stop.
- Zigbee2MQTT uses the MQTT discovery feature to make the Zigbee devices available in Home Assistant. After removing the Zigbee2MQTT add-on, the devices are still present in Home Assistant since the MQTT broker is still holding on to the MQTT discovery messages.
- It is recommended to remove these stale devices from the MQTT broker (see next steps).
Step 4
Remove Zigbee2MQTT devices (option 1)
- If you don't use MQTT outside of z2m, you can delete the Mosquito Broker integration.
- Under Settings > Devices & Services, select the Mosquitto broker integration.
- Select the three dots and in the dropdown menu, select Delete.
Step 5
Remove Zigbee2MQTT devices (option 2)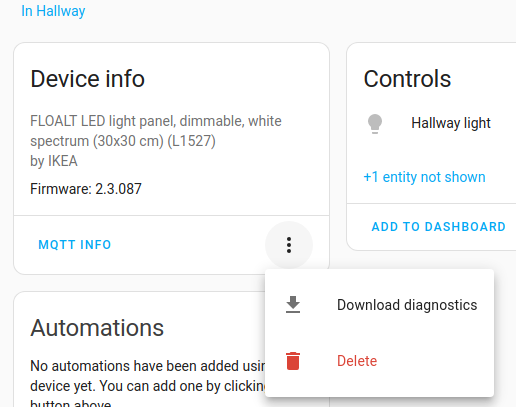
- If you don't want to delete the Mosquito Broker integration, you can remove the devices from the MQTT network.
- In the integration card, select Devices, under Device info, select Delete.
- Repeat this for every device.
Step 6
Plug the extension cable into Connect ZBT-1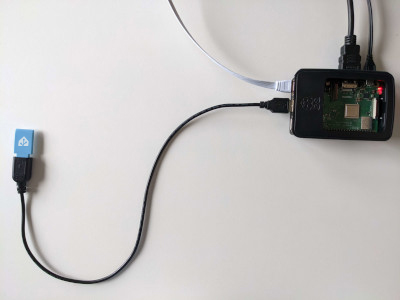
- Plug the Home Assistant Connect ZBT-1 into the USB extension cable.
- Plug the extension cable into your Home Assistant instance.
- If you are using the standalone Home Assistant Container installation method, make sure Connect ZBT-1 is mapped to the container.
- USB 3.0 ports and USB 3.0 drives can cause interference with 2.4 GHz protocols, including the ones provided by Home Assistant Connect ZBT-1. It is important to use the USB extension cable and to position the Home Assistant Connect ZBT-1 away from possible interference sources. This video shows the effect of interference.
Step 7
Locate the Connect ZBT-1 integration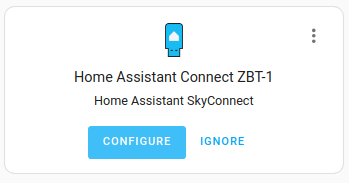
- Go to Settings > Devices & Services.
- Connect ZBT-1 should now have been discovered.
- Select Configure.
Step 8
Upload a manual backup
- In the Network Formation dialog, select Upload a manual backup.
Step 9
Select the backup file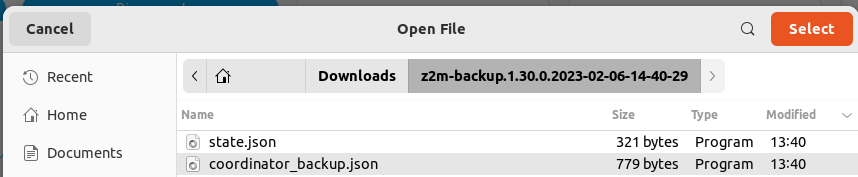
- In your Downloads folder, select the coordinator_backup.json file.
Step 10
Submit the backup json file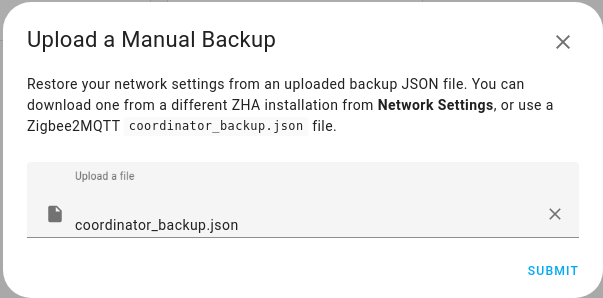
- Make sure the coordinator_backup.json file is selected and select submit.
Step 11
Assign coordinator to area
- Assign the coordinator to an area and select Finish.
- However, you won't be able to control the devices until they rejoin the network. Normally, they join within one hour. You may be able to accelerate that process by power-cycling the device.
Step 12
Reconfigure automations and dashboards
- All migrated devices have new entity IDs. This means you will need to manually reconfigure automations and dashboard cards.
- The names that you manually assigned to your devices won't have been migrated. You will have to rename the devices again.